Interested in learning how to create your own DIY wooden crates? Look no further! Our comprehensive step-by-step guide is here to help you embark on your crate crafting journey. Whether you’re a seasoned DIY enthusiast or a beginner looking to explore a new hobby, this guide will walk you through the entire process with clear and concise instructions. With our easy-to-follow steps, you’ll be able to build your own wooden crates in no time. Get ready to unleash your creativity and add a personalized touch to your home decor or storage solutions. Let’s get started!
The Ultimate Step-by-Step Guide to Crafting DIY Wooden Crates
If you’re looking to add a touch of rustic charm to your home or create a functional storage solution, crafting your own DIY wooden crate is the perfect project for you. With just a few materials and some basic woodworking skills, you’ll be able to create a beautiful and versatile wooden crate that can be used for storage or as a decorative item. In this step-by-step guide, we’ll walk you through each stage of the process, from gathering your materials to adding the finishing touches. So let’s get started!
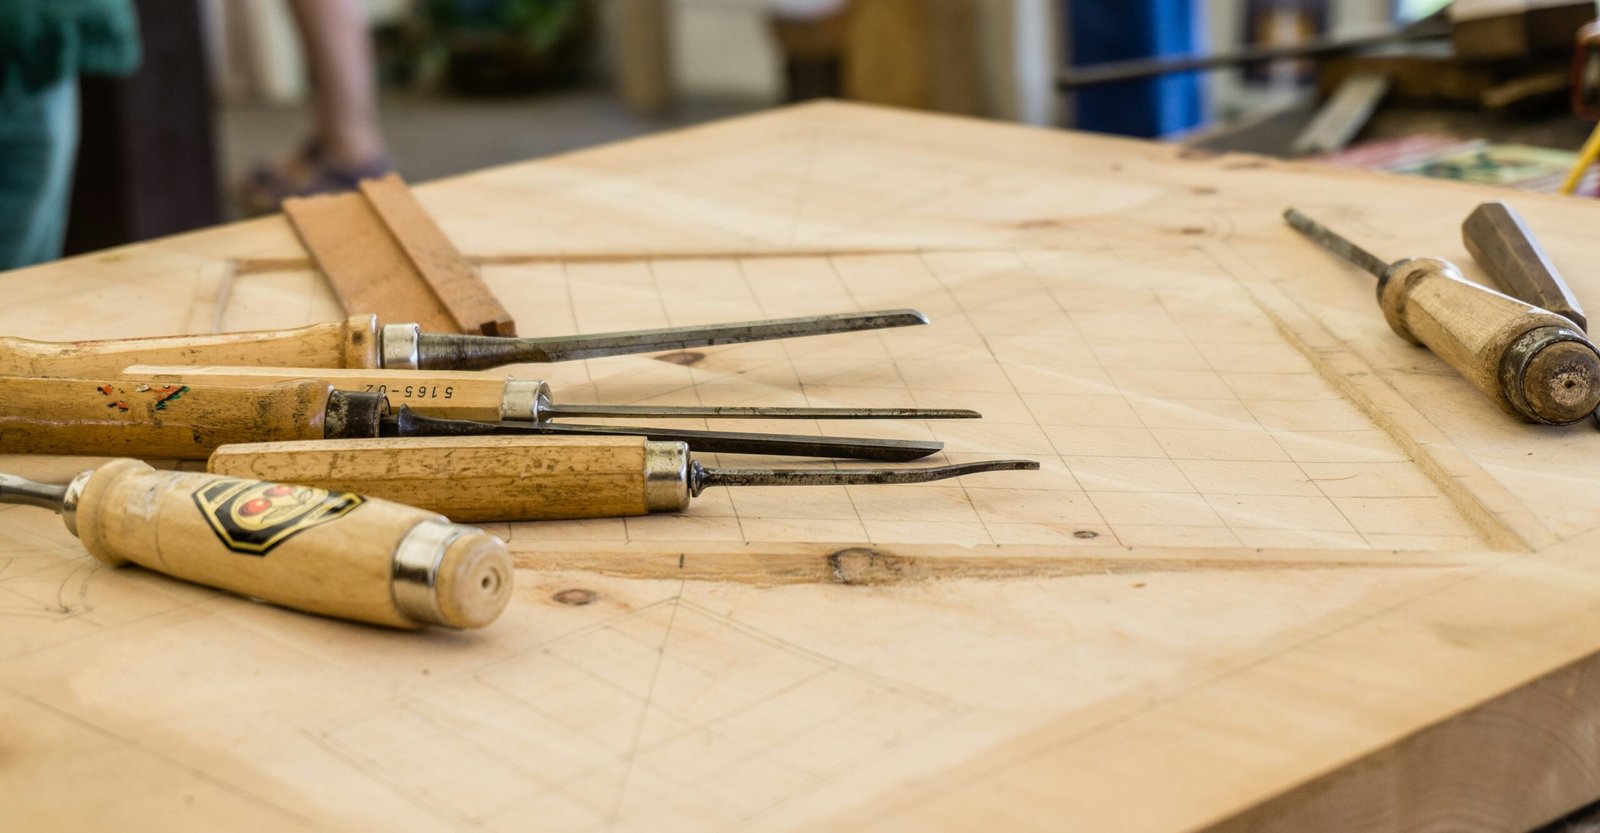
Step 1: Gather Your Materials
Before you begin your crate crafting adventure, make sure you have all the necessary materials ready. Here’s a list of what you’ll need:
- Wood planks: Look for sturdy and durable wood planks that are suitable for your project.
- Measuring tape: A measuring tape will help you accurately measure and mark the dimensions of your crate.
- Wood glue: High-quality wood glue is essential for joining the planks together securely.
- Nails: Choose nails that are appropriate for the thickness of your wood planks.
- Saw: You’ll need a saw to cut the wood planks to the desired dimensions.
- Sandpaper: Sandpaper is essential for smoothing out any rough edges and surfaces.
Step 2: Measure and Cut the Planks
Determine the size of the crate you want to create. Consider the purpose of the crate and the space available for it. Once you have a size in mind, use a measuring tape to measure and mark the dimensions on the wood planks. Ensure that all the planks are cut to the same size for a neat and uniform appearance. Using a saw, carefully cut the planks according to the measurements you’ve marked.

This image is property of images.unsplash.com.
Step 3: Sand the Wood
To ensure a polished finish, it’s important to smooth out any rough edges and surfaces of the wood planks. Take a piece of sandpaper and gently sand the entire surface of each plank. Pay extra attention to the corners and edges to achieve a smooth and professional finish. Sanding the wood will not only make it look more attractive but also prevent any potential splinters.
Step 4: Assemble the Crate
Now it’s time to bring your crate to life! Apply wood glue to the edges of the planks that will be joined together. Ensure you apply an even and generous amount of glue for a strong bond. Join the planks together to form the sides of the crate, making sure the edges align perfectly. Once the planks are aligned, secure them with nails to ensure stability. Hammer the nails into place, being careful not to split the wood in the process.

This image is property of images.unsplash.com.
Step 5: Create the Base
To complete the structure of your crate, you’ll need a sturdy base. Measure and cut a piece of wood that fits snugly within the frame of your crate. Once you have the base cut to size, attach it to the bottom of the crate using nails. Make sure the base is centered and secure it with enough nails to provide adequate support.
Step 6: Reinforce the Corners
To add extra strength and durability to your wooden crate, reinforcing the corners is a crucial step. Cut triangular pieces of wood that fit perfectly into the inside corners of the crate. Position these triangular pieces so that each side rests against the adjoining planks at a 45-degree angle. Attach the triangular pieces to the crate using nails or screws for added strength. This reinforcement will ensure that your crate can withstand heavy items without any risk of structural damage.

This image is property of images.unsplash.com.
Step 7: Add Handles
Handles not only add functionality to your crate but also enhance its aesthetic appeal. Measure and mark the desired location for the handles on the sides of the crate. Once you’ve marked the spots, use a drill to create holes at the marked locations. The size of the holes should accommodate the handles you have chosen or allow for the insertion of rope to create handles. Once the holes are drilled, insert the handles or cut rope and secure them in place. Handles make it easier to carry and transport your crate, whether you’re using it for storage or as a decorative element.
Step 8: Finish and Decorate
Now that the structure of your crate is complete, it’s time to add the finishing touches. Take a piece of sandpaper and gently sand any remaining rough areas, ensuring that the surface of your crate is smooth and free from imperfections. This step will provide a professional finish and prevent any snagging or splintering when handling the crate. Next, consider applying paint, stain, or varnish to enhance the natural beauty of the wood or match your home’s décor. Choose a finish that complements your style and preferences. Additionally, if desired, you can add any additional decorations or personalization to make your crate truly unique and customized.
Step 9: Allow for Drying Time
Before putting your DIY wooden crate to use, it’s essential to allow for proper drying time. If you’ve applied any finishes or used wood glue during the assembly process, follow the manufacturer’s guidelines for drying time. This ensures that the finishes dry completely and any glue used has a chance to bond securely. It’s crucial to wait until the crate is fully dry before loading it with any items or applying any weight. Rushing this step may compromise the strength and durability of your crate.
Step 10: Enjoy Your DIY Wooden Crate
Congratulations! You’ve successfully crafted your very own DIY wooden crate. Now it’s time to put it to good use. Here are a few ideas on how you can enjoy your new creation:
- Use it for storage: Whether it’s in your pantry, living room, or bedroom, your wooden crate can serve as a stylish storage solution. Store books, toys, blankets, or any other items you want to keep organized.
- Display it as a decorative item: Your beautifully crafted crate can double as a decorative element in any room. Stack multiple crates to create a shelving unit or use them as unique plant stands.
- Gift it to someone special: If you’re proud of your craftsmanship, consider giving your DIY wooden crate as a gift. Fill it with goodies and present it to a loved one for a personalized and thoughtful gift.
Crafting your own wooden crate is a rewarding and satisfying experience. Not only will you have a functional and versatile storage solution, but you’ll also have a beautiful piece of handmade decor. So gather your materials, follow these step-by-step instructions, and enjoy the process of creating your own DIY wooden crate. Happy crafting!